 |
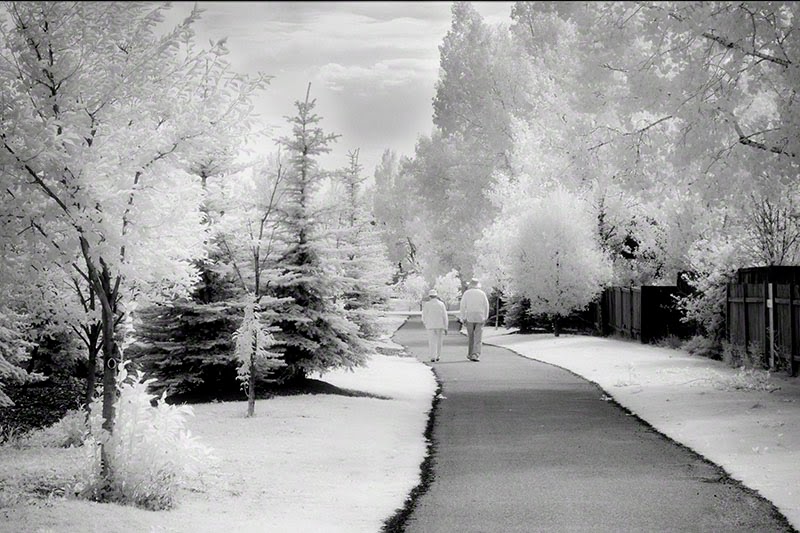
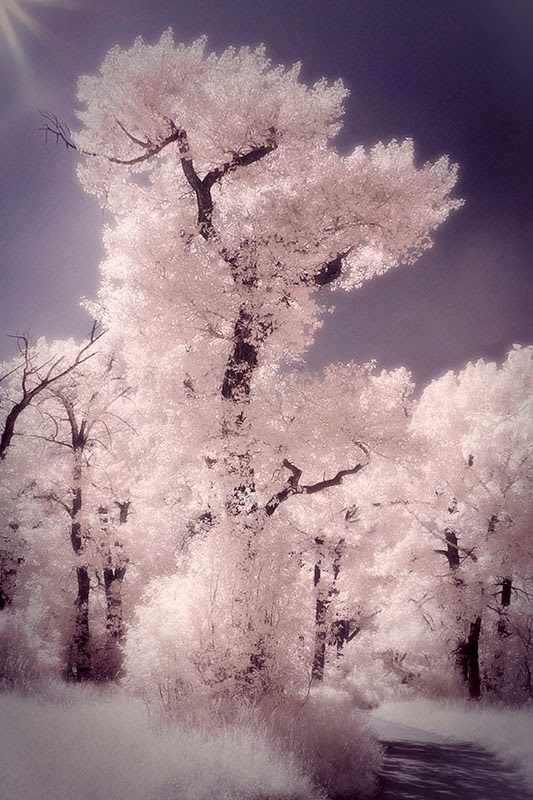
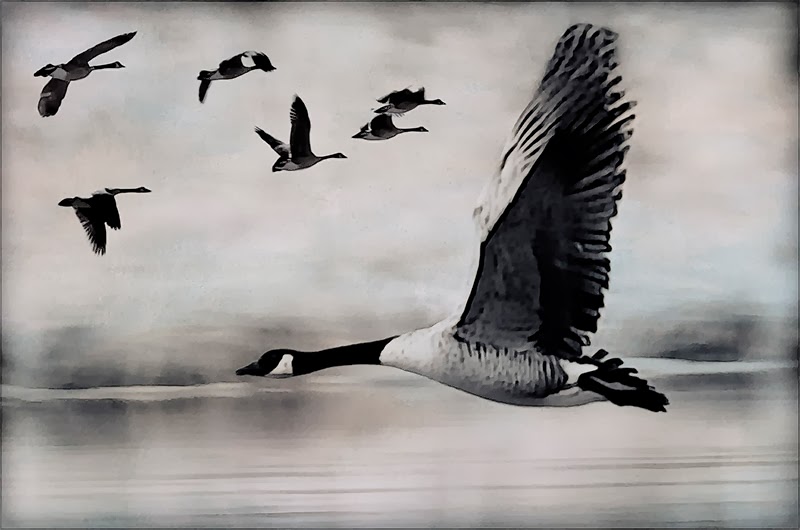
| Modified Camera Rebel XSi, Canon 24-105 at 45mm, f9, 1/80sec. ISO200 |
 |
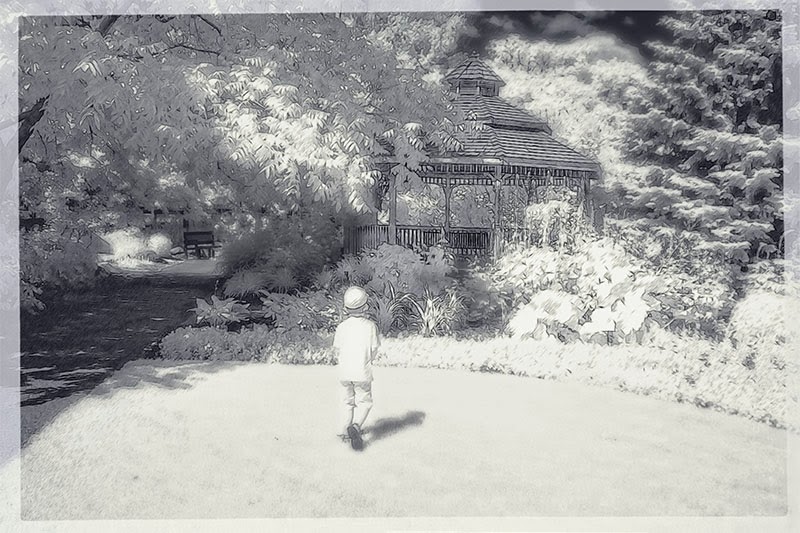
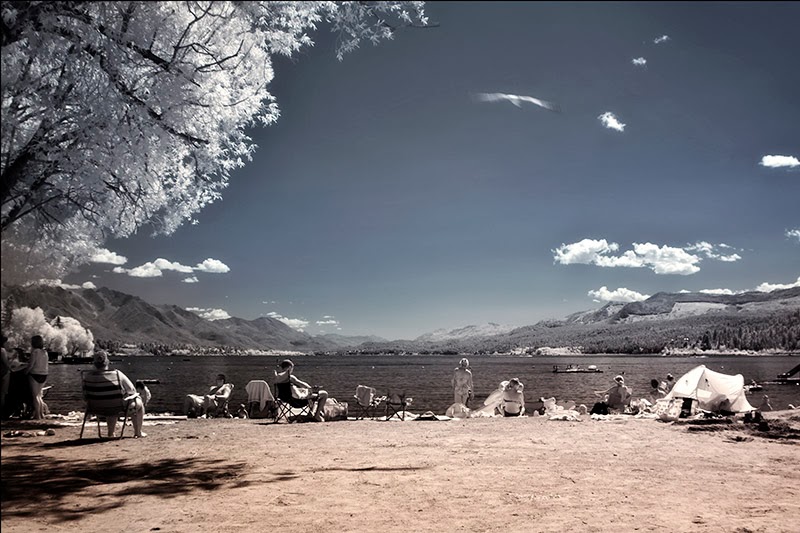
| First IR capture, using a external filter, Canon 5D Markii, 24-105 at 75mm, f4, 30sec under full sun, ISO 200 |
- At the firs t glance, a monochrome
picture taken in infrared may look similar to just another black and white
photograph. And then you start seeing differences: objects which are bright in
visible light (like sky) look dark here, while some of those which are
"normally" dark (green foliage) acquire a bright glow. An unusual and
eerie feeling.
- To answer the question briefly:
photographs in infrared show quite unusual tonality, different than that to
which we are used, and this may make them esthetically pleasing, at least in
many cases. Which, of course, is a matter of taste.
 |
| Modified Camera Rebel XSi, Canon 50mm prime lens, f1.4, 1/30sec, ISO 200 |
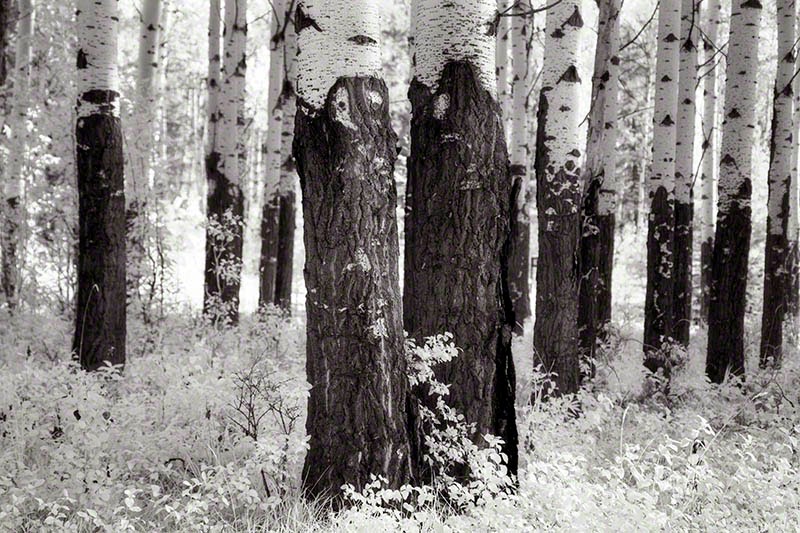
- The most dramatic difference
between the visible and infrared spectrum is in case of foliage: it does,
indeed, become very bright in infrared; very much like you can see in my
photographs shown here
 |
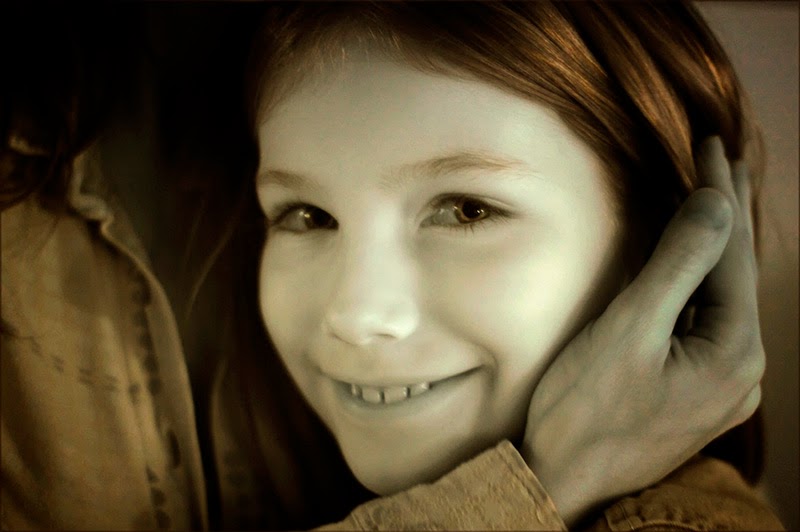
| Auto Portrait, using 2 images blend together in Photoshop, Modified Camera Rebel XSi, Canon 24-105 at 24mm, f5.6, 1/125sec. ISO200 |
 |
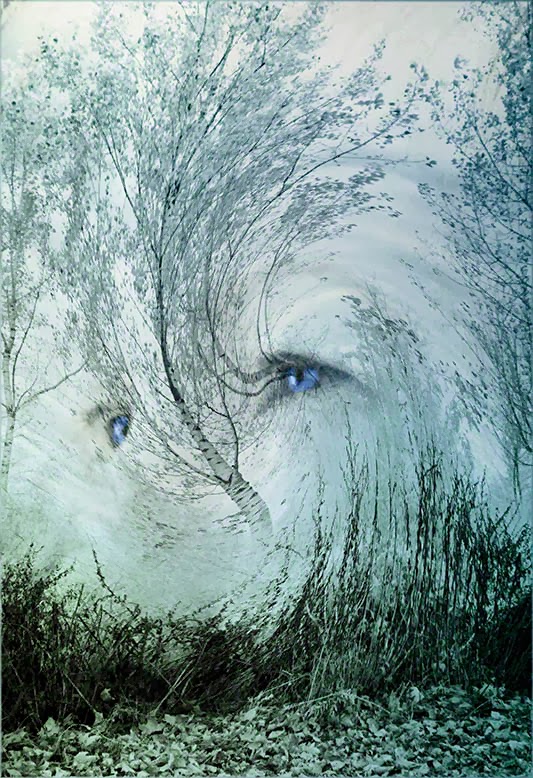
| Modified Camera Rebel XSi, Canon 24-105 at 24mm, f4.5, 1/30sec. ISO100, Using my Soft IR preset in Photoshop |
- One of
the main reason I am using IR, it
because it offered a different creative option, we are always looking ways
to make our imagery special and creative, this is one way to achieve it.
- When I started
I was using a IR filter attached to my lenses, not cheap, around $300.00, and
not user friendly at all. The IR filters are very dark, it means you need to
put your camera on a tripod, manual
setting, focus on the subject, turn off the auto focus, add the filter and gestimate
your manual setting, a lot of trial and
error, some shots took me up to 15 minutes.
 |
| Modified Camera Rebel XSi, Canon 16-35 at 20mm, f7.1, 1/160sec. ISO100 |
- After a lot of trial and error, I
was getting not bad in my gestimate, but I wanted something a bit more
accurate, that's when I decided to send my old Rebel XSi to LIFE Pixel for a
digital infrared conversion, around the same cost of the filter, I opted for
the regular 720nm filter. When I received my camera from Life Pixel, I couldn't
believe how easy IR was with a converted camera, same as shooting with a
regular sensor, no more gestimate, maybe a bit of trial and error, but so
little, you can bracket your shots to get the perfect exposure, I am keeping
the filter for travel when I cannot bring all my gears.
 |
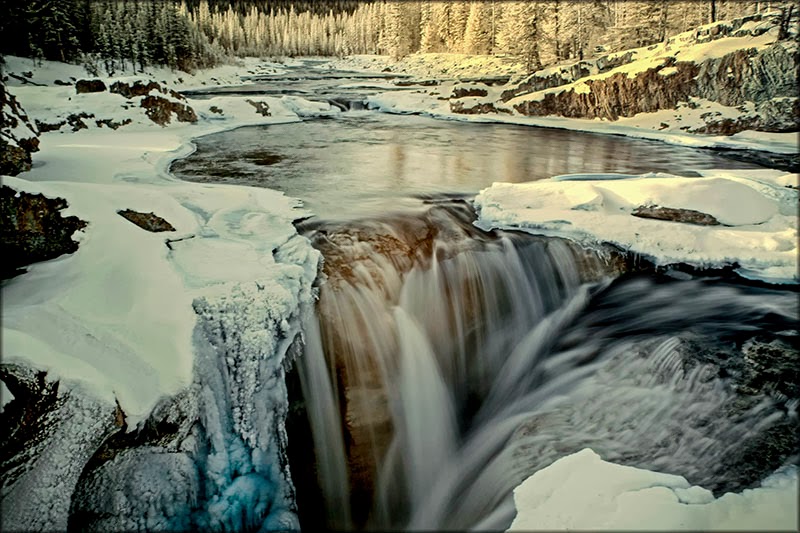
| Modified Camera Rebel XSi, Canon 24-105 at 24mm, f4, 1/100sec. ISO100 |
- I am using photoshop to work on
my IR raw files, I always shoot in both setting raw and Jpeg, IR is a different
beast and it takes a bit of experimentation in the darkroom, I find that
sometimes the Jpeg files are easier to alter.
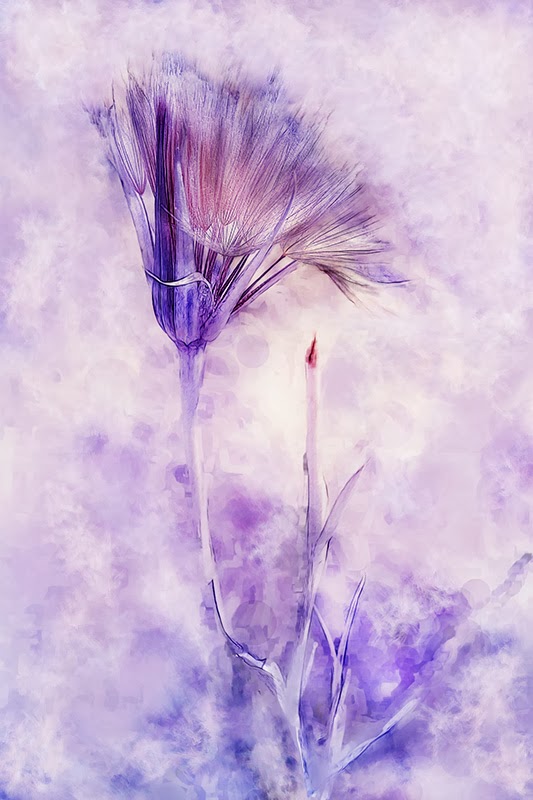 |
| Dandelion, Modified Camera Rebel XSi, Canon 24-105 at 105mm, f9, 1/80sec. ISO100, Corel Painter 12 Digital Painting |
- When I open the file in Photoshop
Raw, I add a bit of contrast, and clarity, and open the file in Photoshop.
 |
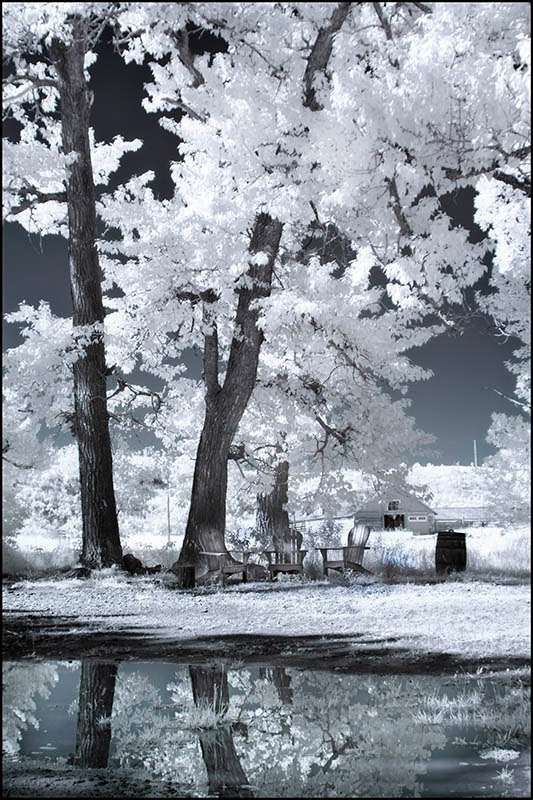
| Modified Camera Rebel XSi, Canon16-35 at 17mm, f18, .6sec. ISO200 |
- My first step in Photoshop is to open the Channel
Mixer, were I added 1 preset, that I called IR soft, select
Image – Adjustments – Channel Mixer.
- With the channel mixer open select Red as the
output channel and drag the Red channel slider until 0% is displayed. Then drag
the Blue channel slider until +127 is
displayed.
- Now select Blue as the output channel and drag the
blue channel slider until -9 is displayed the green until +3. Then drag the Red
channel slider until +95 is displayed.
- Now select the Green as the out put channel and
drag the Red channel slider until -9 is displayed. Then drag the Blue channel
slider until +45 and the green to +81 is displayed.
 |
| Modified Camera Rebel XSi, Canon 100-400 at 400mm, f5.6, 1/125sec. ISO400 |
- You can play with it and develop your own presets,
there is many tutorial on the web and on Life Pixel website.
- My second step when I am happy
with the result of the Channel Mixer I select Image – Adjustments Level to add contrast, open shadows, whatever
my image needs, same with curve, when I am happy with the result is now time to
decide if I want a color kind of image or a black and white.
 |
| Modified Camera Rebel XSi, Canon 24-105 at 24mm, f8, 1/40sec. ISO100 |
Like anything new, trying IR will
be a lot of experimentation, you'll develop your own taste and way to
transform your files, following your own creativity.
 |
| Modified Camera Rebel XSi, Canon 24-105 at 43mm, f4, 1/125sec. ISO100 |
To get more info about Life Pixel please follow this link below.
Your trusted source for infrared photography IR conversions, filters, tutorials & much more.
To get Perfect Effect 4 for Free click on the link on the right of the page


No comments:
Post a Comment